Why is My Portable Solar Panel Not Working?
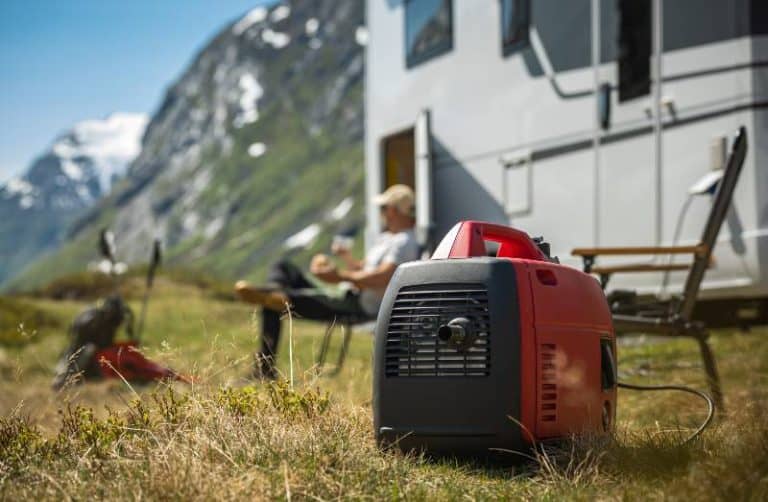
Hey there solar seekers! Tom from Electrik Living is here, your guide to clean energy and sustainable living. Today I want to offer a handy troubleshooting guide for those pesky issues that can pop up with portable solar panels and kits. Now I know electrical gremlins can seem scary at first. But take a deep breath and know that with some basic tools and easy diagnostic steps, you can handle many common solar hiccups yourself. Consider me your troubleshooting sherpa – I’ll lead the way!
Key Takeaways
- Relocating panels or removing obstructions can resolve insufficient solar energy collection from shading.
- Inspect wiring connections and test voltages to identify loose, damaged cables causing system performance problems.
- Isolate faulty components through testing and replace damaged parts contributing to low power output or current flow issues.
Fighting for Sunlight
Solar panels need adequate sunlight to generate power. But it’s easy for stuff to partially block or limit the sunlight soaking into your panels. When this happens, your system won’t charge properly since the panels aren’t getting their full fix of photons. Major bummer!
Some signs your panels aren’t getting enough rays:
- The charge controller shows low output, even on sunny days.
- Your battery takes forever to charge or doesn’t charge fully.
- You notice a “moonlight” icon on the charge controller, indicating low solar input.
Here are some ways to troubleshoot insufficient sunlight:
- Reposition the solar panels to get better sun exposure, if you can. Even small tilt adjustments can make a big difference.
- Remove any obstructions like trees or buildings that may be causing shading. Even a little bit of shade can have a big impact.
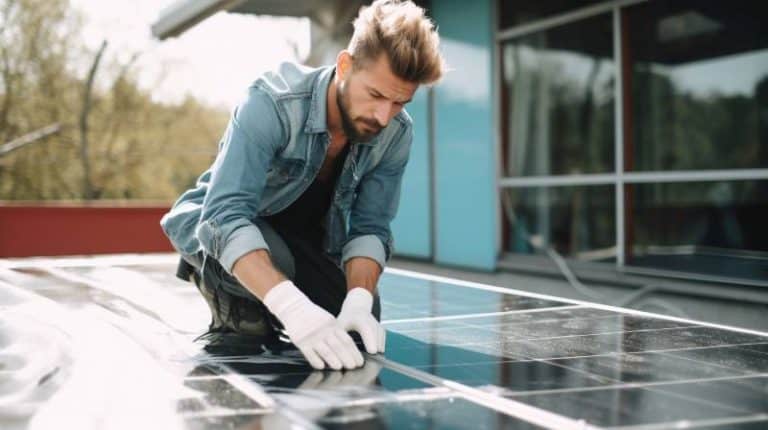
- Clean off dirt or dust that could reduce absorption. Let those photons flow freely!
- If needed, consider adding more panels to increase capacity. More surface area = more sunlight intake.
Careful solar panel placement is a clutch for portable systems. Don’t be afraid to experiment with positioning as needed to maximize sunshine!
When Good Wires Go Bad
Another common issue you may encounter is loose or damaged wiring in your solar setup. All the vibration from travel, plus normal wear and tear over time, can degrade the wires and connections in your system. This cuts off the electrical flow and causes issues. No good!
Some signs of wiring problems include:
- Weak power output and charging
- Flaky or erratic charge controller display
- Frayed or cracked wire insulation
- Corroded or loose wiring terminals
To troubleshoot wiring issues:
- Inspect all connections and junction boxes thoroughly for damage. Look closely for any problems.
Use a multimeter to check the voltage along the wire path. Any drops can indicate a bad connection.
- Test for continuity to find wiring breaks.
- Repair damaged insulation with electrical tape. Replace wires if necessary.
Pay extra attention to the wiring between solar panels, charge controller, and battery, as these spots tend to have issues.
When Good Parts Go Bad
Like any electrical system, the individual components in your solar kit – the battery, charge controller, inverter, etc. – can fail over time. Some signs of a faulty component:
- The battery not charging right
- No power output from inverter
- The charge controller not powering on
Luckily, you can isolate any duds with basic troubleshooting:
- Methodically test each part to identify any failures.
- Verify connections are solid before blaming a component.
- Swap in spare fuses or parts to confirm functionality.
- Replace dead parts with new ones as needed.
Having spare fuses and parts can save the day if your charge controller or inverter croaks!
Overloaded! Avoiding Excessive Loads
While sunlight is free and unlimited, your solar system has a finite capacity. Connecting too many devices at once can overwhelm things and cause shutdowns or failures.
Some signs of an overloaded system:
- Unexpected shutoffs or failures
- Voltage drops under load
- Tripping breakers or blown fuses
- Hot wires from excessive current
To prevent overloads:
- Know your system’s wattage/amperage limit and stay under it.
- Use a power strip to selectively control connected devices.
- Stick to essentials. Avoid large energy hogs like AC appliances.
- Add more panels or batteries to increase capacity if needed.
Careful load management is key! Know your system’s limits and live within its power budget.
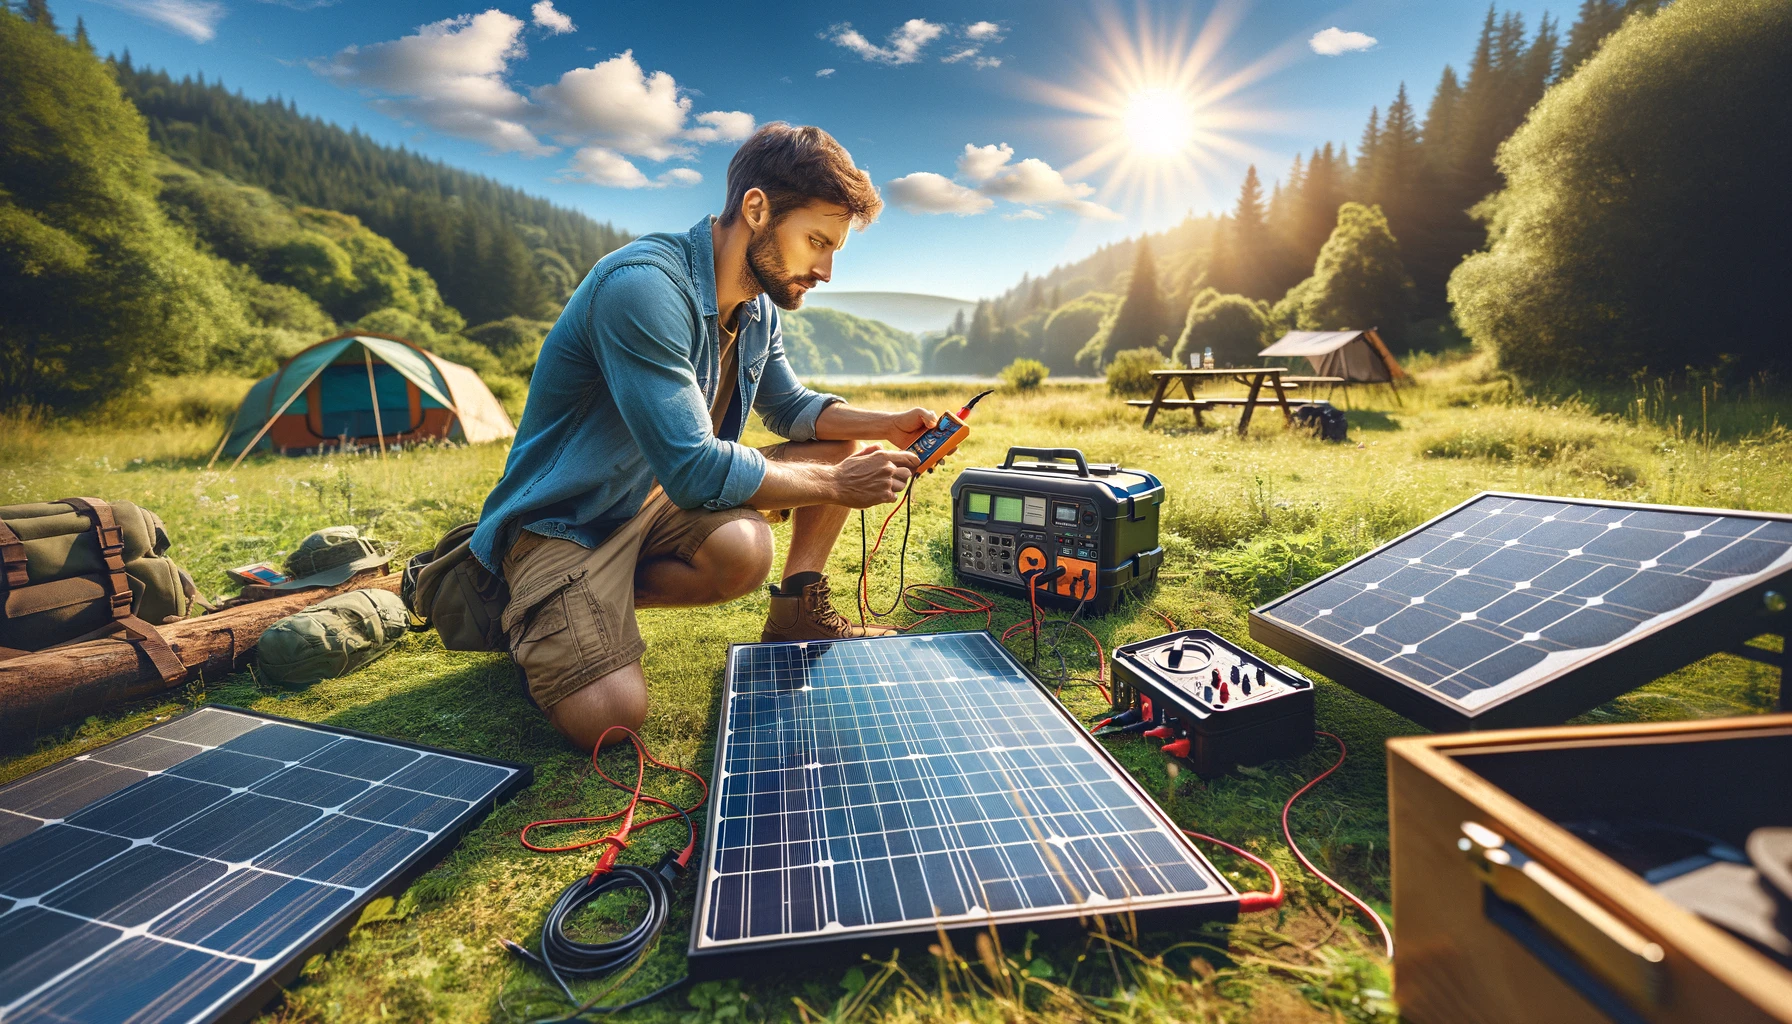
Checking Voltage and Current
One of the handiest troubleshooting tools is a trusty multimeter. This lets you check key electrical values like voltage and current throughout the system.
To test with a multimeter:
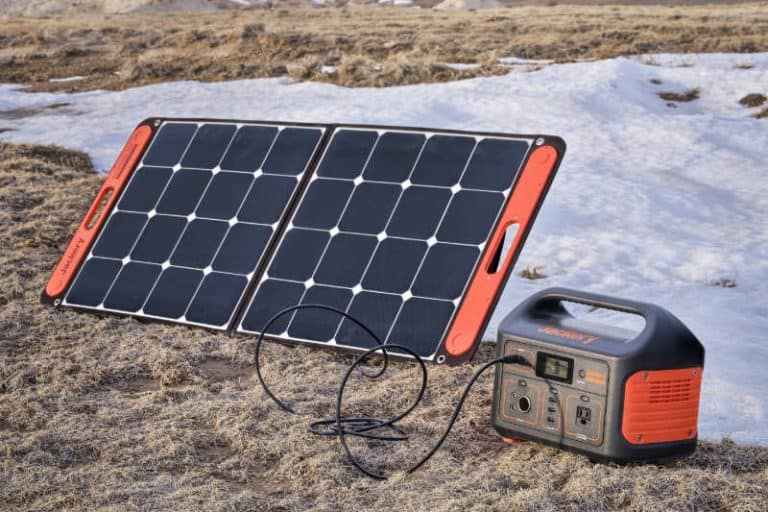
- Verify panel output to ensure solar cells are working right.
- Check battery voltage to determine the state of charge.
- Use continuity mode to identify any wiring breaks or shorts.
- Confirm adequate output at the inverter side.
For portable systems, methodically work from the solar panels backward to isolate any power loss issues.
A multimeter provides visibility into what’s happening electrically. Paired with basic wiring knowledge, it will help diagnose any problems.
Calling In Solar Backup
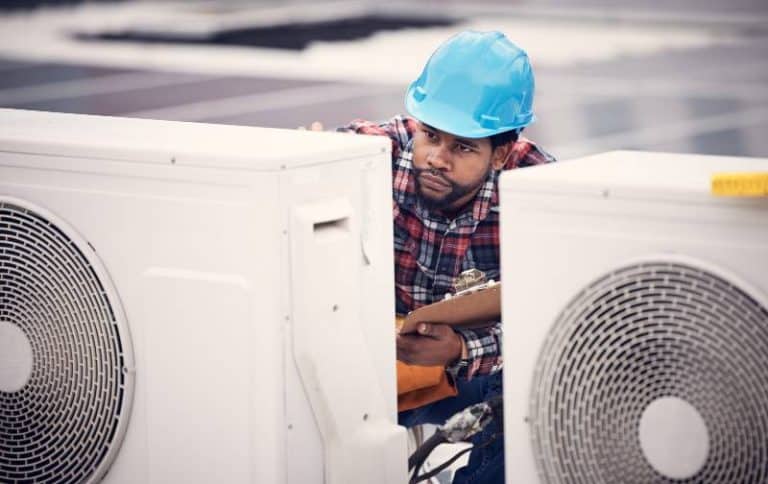
While basic troubleshooting can be DIY, more complex electrical issues require professional solar expertise. Don’t hesitate to call a solar pro if:
- You need to access internal panel wiring or electronics.
- There are tricky connectivity issues you can’t resolve.
- Specialized tools or testing are needed.
- Major storm damage or water damage has occurred.
Safety first! It’s smart to call a licensed electrician whenever things seem unsafe or beyond your skill level. They have the proper training and gear to safely handle more advanced solar issues. Don’t gamble with electricity.
Conclusion
And there you have it – a complete troubleshooting masterclass for pesky solar panel headaches! With the right tools and systematic approach, you can get your portable system pumping again quickly.
The key is properly diagnosing the root cause – insufficient sunlight, damaged wiring, faulty components, etc. Once you’ve identified the culprit, the fix is typically fast and straightforward.
I hope this gives you the confidence to tackle basic solar snafus yourself rather than waiting for an expensive technician visit. Just remember to prioritize safety, do preventative maintenance, and call a solar pro when you’re unsure or things seem unsafe. Keep this guide handy and you’ll be a solar troubleshooting expert in no time!
FAQs
What are some typical issues with portable solar panels?
Common problems include insufficient sunlight, loose/damaged wiring, faulty components, overloaded systems, low voltage output, and general wear and tear over time.
What tools do I need to troubleshoot my solar kit?
Basic tools like a multimeter, screwdrivers, wrenches, wire strippers, and wire cutters are very helpful. Safety gear like insulated gloves is also recommended.
How can I tell if my panels aren’t getting enough sun?
Check the charge controller display for low output on sunny days. Also, inspect panels for any obstructions that could be causing shading during peak sunlight hours.
My solar battery won’t charge – where should I start troubleshooting?
Start by checking all wiring connections between the solar panels, charge controller, and battery for any loose terminals or damaged cables that could be interrupting power flow.
Is it safe for me to troubleshoot solar electrical issues myself?
Basic testing is safe if proper precautions are taken, but it’s best to have a solar pro handle any complex wiring issues or hazardous electrical problems beyond a DIY skill level.